
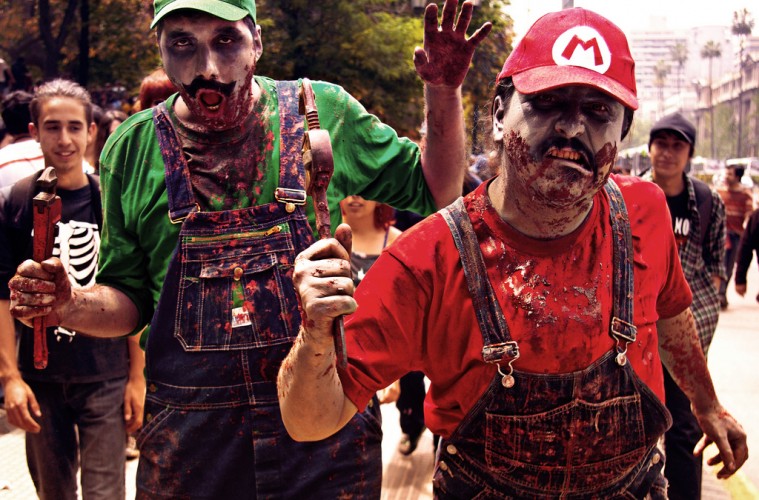
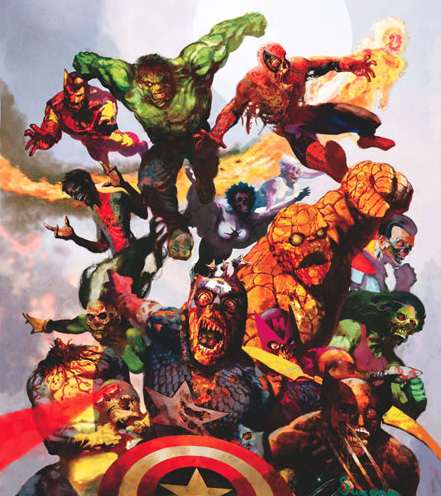
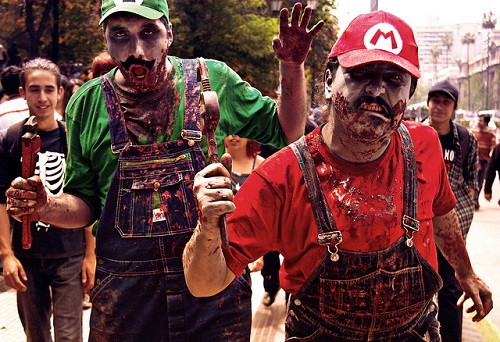
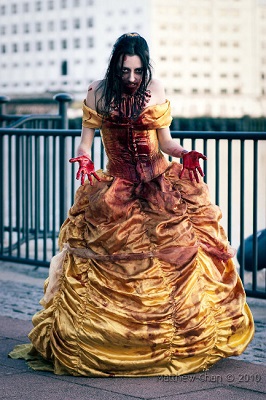
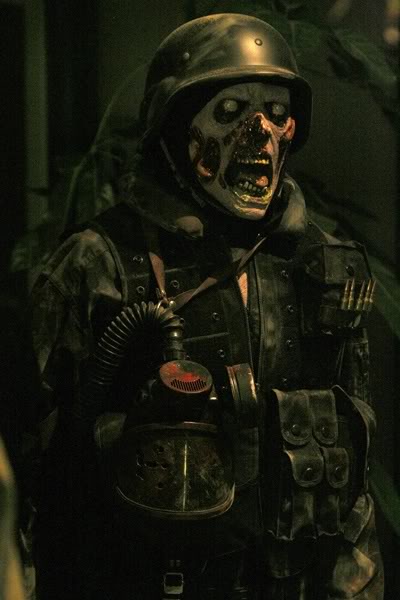
The zombie phenomenon has stretched across so many platforms. From books, T.V.shows, video games, Disney princesses, our beloved comic book heroes…. there is no stopping it. Just as if there is a virus spreading out there. Almost everything has been zombified and until everything has had it’s day as an undead version of itself, you can continue to roll your eyes, or join the legion. After all, wouldn’t it be fun to be this guy right now?
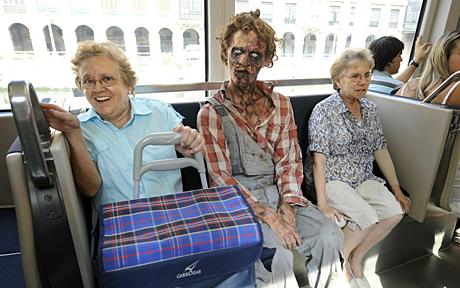 telegraph.co.uk
So if you’re thinking about being a zombie for a convention, social experiment or Halloween, you’ve come to the right place. Whether it’s your first time or your 30th zombie walk, you’ll pick up some tips and tricks on how to get the look or maybe even learn something completely new.
Stay tuned after the tutorial for a zombie prank pulled on The Walking Dead’s Norman Reedus.
First thing’s first, what kind of zombie do you want to be? Your typical walking dead? A charred zombie? Zombie Spider Man? Zombie president? Figure out what type of zombie you’ll be so you can plan the outfit you’ll need. Whatever you decide, Remember your outfit/costume should be ripped, torn, bloody, anything but clean.
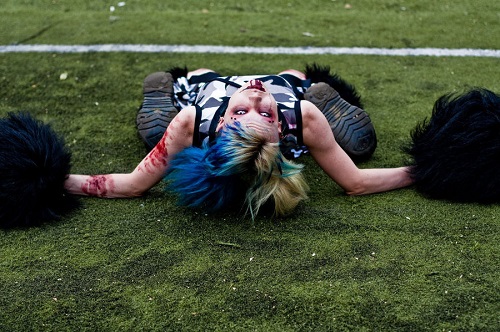
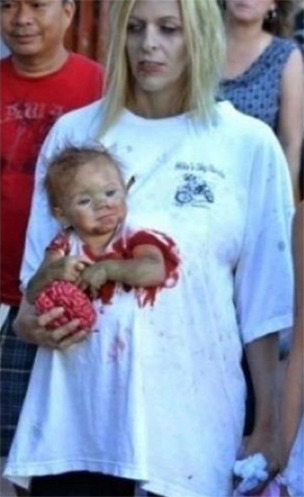
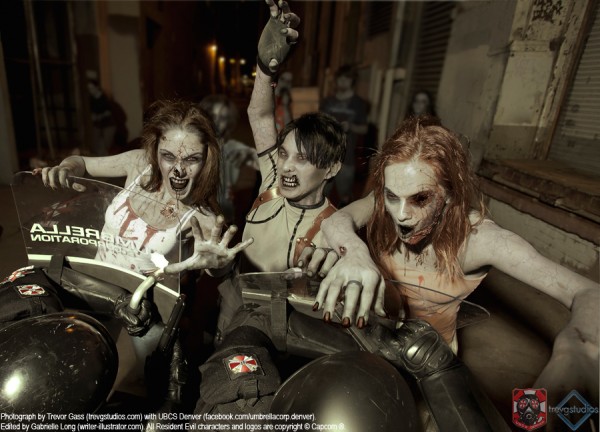
Need some inspiration?
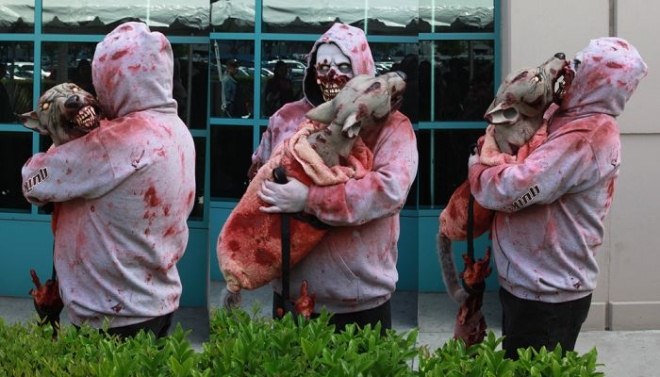
 See what I did there? hauntersdigest
Now what’s left is to get our skin on board with the undead and we’re mostly done! Here we go, starting with the skin base.
Zombies lack pigment, well, because they are dead. No explanation needed really. So you can have dark circles under your eyes and bloody up your mouth but to look the most convincing, you’ll need to be as pale as possible. Unless you’re going to be a charred zombie, then black and red work best here. For a cartoonish zombie, green is a good color.
For the pale zombies, we’re not talking about ivory, we’re talking grey. As stated in my previous cosplay tutorial, I am going to recommend Snazaroo face paint in the 18ml disc. The colors I would choose would be their Classic Colors line in light or dark grey. You can paint your entire body with this stuff and still have a fair amount left. This paint dries like powder and doesn’t flake. To learn how I apply it, take a look at my previous tutorial.
Once you have the base down, it’s time to add scars, rotting flesh, blood, and whatever else you see fit for your zombie look.
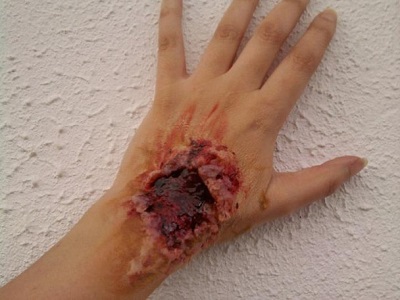
ROTTING FLESH
WHAT YOU’LL NEED:
- Non-toxic school glue, such as Elmer’s
- Tissues or toilet paper (1 ply is best)
- A toothpick, wooden skewer or any sharp object that will tear through tissue paper and not your actual flesh
- The same makeup you used for your body. If no makeup is being used, then a liquid foundation that matches your skin color
- A makeup pallet or shadows you already have that include red, purple and black and brown. The cheapest of “Halloween” makeup will work for this.
- A makeup sponge or if you prefer, skip it and use your fingers
- A thin makeup brush for detailing (your kit might already have one in it)
- Fake blood
STEPS:
1. Tear your toilet paper or tissues into random sizes. Three to four squares should do for smaller areas like your hand or cheeks. If you are doing larger areas like your entire neck or forearm, 5-8 should do.
2. Apply a generous amount of glue onto the area you are working on. Do one area at a time.
3. Place a couple large shreds of toilet paper/tissue over the glue. If it only take one to cover the glue, that is fine. You don’t want to over lap too much just yet.
4. Go over the tissue/toilet paper with more glue and spread it out.
5. Add another layer of toilet paper or tissue shreds. This time using medium sizes.
6. Repeat the glue and tissue process again, this time using your smaller pieces.
7. Wait about 5 minutes for the glue to be semi-dry and with your toothpick or skewer, start to make holes, tears, etc through the tissue paper. The size is up to you.
8. Wait for the “wound” to dry completely. About 5 more minutes.
9. Apply your base makeup or foundation over the entire wound using your fingers or makeup by dabbing. Blend into your skin well.
10. Dab your fingers or clean sponge in red or a combination of red, black and brown from the makeup pallet or eye shadows and dab onto the wound. This will create depth. Use purple to create bruising. Repeat as neccessary. Blend out past the wound.
11. Using the makeup brush and black paint or eye shadow, darken the inner edges of the holes and scars you’ve made. You are darkening your exposed skin.
12. With the makeup brush and red paint or eye shadow, fill in the center of the holes/scars and blend, still leaving the edges the darkest. This creates more depth and realistic open wounds.
13. Squeeze a little bit of fake blood into the scars and holes for a gross, oozy, zombie flesh wound. Yum!
How about a slit throat? Following the above steps is also how you would get this gnarly looking neck wound.
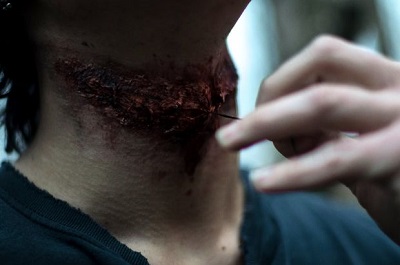
Here is the video tutorial.
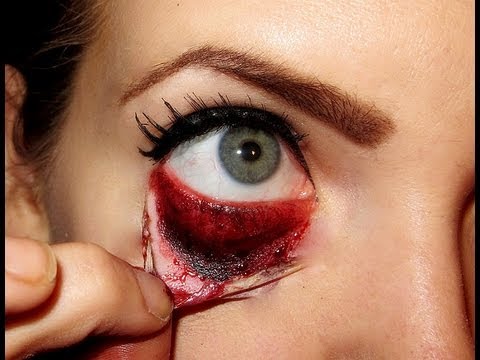
FALLING SKIN
WHAT YOU’LL NEED
- Eyelash glue or liquid latex
- Whatever paint you are using for your face or concealer to match your skin tone.
- Red and black liquid or cream makeup
- Fake blood
DIRECTIONS
1. Apply a layer of liquid latex or eyelash glue below your eye. If you are using liquid latex, apply with a q-tip. Eyelash glue can be applied with your finger or from the tube directly. You don’t want it too close to your lower lashes. Note: Liquid latex has fumes that can make your eyes tear, so unless you already have some on hand, eyelash glue is a much cheaper, accessible alternative.
2. Let dry.
3. Peel the latex/glue down from the top. Be careful not to remove completely.
4. Using cream or liquid based makeup, color in the skin from inside the peel up to your lower lid. Color the lowest part inside the peel black, while filling the rest of the wound red. Blend. Be sure to get the water line on your lower lid for the best effect.
5. Add some fake blood inside the wound, but don’t overdo it.
LASCERATIONS

WHAT YOU’LL NEED
- Sculpt gel
- Styrofoam bowl, plastic dish or any disposable bowl/dish to mix the gel in
- Wooden craft (popsicle) stick or something disposable for mixing gels
- Silicon pigments for coloring the gel or artist oil paints.
- Something flat to spread the gel evenly
- 99% alcohol
- A coarse makeup sponge, cotton ball or whatever tool you’d like to create texture
- A toothpick, wooden skewer or something pointy to carve the gel and not your real skin
- Liquid, cream or alcohol activated makeup to color your wounds. Red, purple, blue, black and brown are good colors for this
- Fake blood
Sculpt gel is a silicone based gel that will come in a kit of two containers. One container will say Part A, the other will say Part B. You can get light, dark or clear for your skin. I personally like clear because you can get it whatever color you like with oil paints or silicon pigments. Some sculpt gel brands to look for are Trauma Skin FX, 3rd Degree and Gel-10. This stuff is not cheap. The lowest I have found is $18.00 for the Gel-10.
DIRECTIONS
1. Mix equal parts of Part A and B together with your craft stick in a bowl or dish. Mix well.
2. Add your color pigment(s) to match your skin tone. Use a little at a time until you reach desired color. A little drop goes a long way. Mix well.
3. Using your flat utensil, spread over skin. Feather out for a flush surface by working 99% alcohol over the silicon spread.
4. Dip whatever texturing tool(s) you have (coarse makeup sponge, cotton ball, etc.) into some alcohol and stipple over the silicone to create the texture you’d like.
5. Just before the sculpt gel sets (5-7 minutes), dip your pointy tool in alcohol and create your cuts. Lift up some of the edges with your tool to create a deeper looking wound.
6. Using your liquid, cream or alcohol activated makeup, “bruise” or “burn” the skin by applying mixed colors over your wounds. Darken the inside of the lacerations for deeper cuts if desired.
7. Add your fake blood inside and around the wounds and dab away using a tissue. Repeat as necessary to build a realistic look you are satisfied with. Some wounds can be oozing, but too much blood can look over dramatic.
The video below is for “werewolf” lacerations, but this works for all scars, wounds and skin effects such a charring. For a charred effect, with or without scars, just build layers of bumpy skin with the silicone gel by using a coarse makeup sponge and poking through the gel making several small holes.
STITCHES
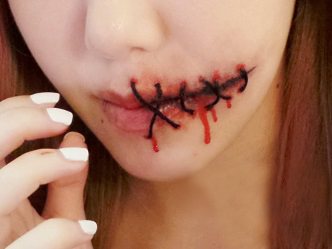
Sometimes snitches are not the only ones who get stitches. Maybe your unfortunate zombie corpse was being used as a science experiment and this was the way to protect people from getting bit. Though not necessary, stitches look pretty cool and you can put them anywhere. Over the eye, over the mouth, on a slit neck, it’s really your choice and here’s how to make it work.
WHAT YOU’LL NEED
- Black thread
- Spirit gum
- Red makeup and whatever other colors you would like for bruising, infecting, etc. Cream, liquid or powder all work.
- Fake blood if desired
Spirit gum can be picked up at Halloween and Party stores. It usually looks like a bottle of transparent nail polish and it runs for about $3.99.
DIRECTIONS
1. Cut two or three pieces of long string (depending on how thick you want the stitches to be).
2. Using the spirit gum, adhere all the strings together, twisting.
3. Cut the string to the desired lengths in the desired amounts.
4. You’ll want to have your makeup already applied to the area where the stitches are going over. If you haven’t done that yet, do that now. If you are ready to go, dot the spirit gum where you want both ends of the thread to go and press the ends on. Do one thread at a time.
5. With dark makeup (brown or black), apply only to where each end of thread is. Blend red over the dark spots.
6. Add blood to a couple stitch holes if desired.
Keep in mind stitches over the eye(s) and mouth may be impractical and cause some discomfort.
EYES
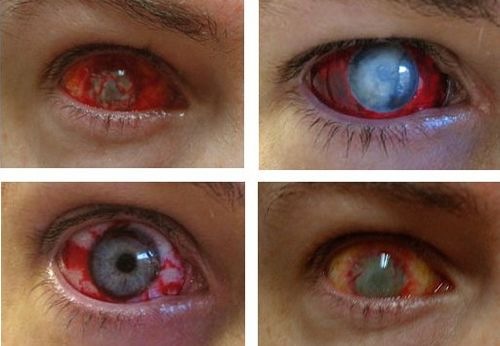
One of the most crucial parts of being a convincing zombie are the eyes. It’s not likely you’ll see a rotting zombie with perfect baby blues. Not according to zombie legend anyway. This element can be one of the creepiest and most awesome parts of your costume, unfortunately it’s not one that can just be created with any amount of materials. You’ll need to spend some dough on contact lenses if you are really committed. There are so many options you can choose from to portray the undead. You can have the complete white sclera, blood shot, cloudy iris, almost anything goes here.
Note: Sclera lenses are the least comfortable and most expensive at $100+ a pair. But damn they look wicked cool.
TEETH

Last but not least and probably the most overlooked part of becoming a legit zombie, the teeth. Sure, plenty of people douse their teeth in blood but not everyone takes the time to “rot” them. I mean after all, not all zombies have just had a feast. Regardless, you won’t find any zombies with a fresh set of pearly whites.
To get your teeth ready for the zombie world, check out the tutorial I made just for getting your chompers to match your cosplay, here.
Now, as promised at the start of this tutorial, watch Nick Santonastasso scare The Walking Dead’s Norman Reedus with the help of Andrew Lincoln (Rick Grimes from the show) and Greg Nicotero (special FX artist for the show). Nick is a young man who was born with a very rare birth defect called Hanhart Syndrome. This defect has left him with no legs, one undeveloped arm and one arm with only a single finger. Despite the hand he has been dealt, he is a very active individual and does not let this handicap bring him down. This is not Nick’s first stint at scaring people as a zombie, apparently it’s something he really enjoys. He has scared unsuspecting people in a Walmart as a zombie out of his own free will and has taken plenty of beatings with random objects for it. Yet, he carries on. In fact, he wants to be a zombie in an episode of the The Walking Dead and there is even a petition going around to get him there. In the mean time, he has already built somewhat of a relationship with the guys on set.
That completes this week’s cosplay tutorial on how to be a convincing zombie. Have fun!
Join us the next few weeks for more on cosplay. If you have any cosplay questions, ask in the comments below. Maybe your question will be featured in an upcoming tutorial!
